Friday, October 3, 2014

Tour Divide 2015 - Contact Part 1: Hands

When riding a bike, you come into contact with it in three places: hands, feet, and butt.  Okay, technically that's five contact points, but you get the idea.  When riding that bike for miles and miles and miles and hours and days and weeks, it's important to think about how you interface with those contact points.  Minor irritations on a weekend ride with your buddies can turn into unwanted game changers when undertaking a multi-day bikepacking race.  The last thing you want when you're headed to the middle of nowhere is for your bike to rub you the wrong way.  Literally.

The "look."
So, hands...

But before I get into that, I have a confession.

I'm usually a pretty pragmatic guy, but when I ordered my bike, I have to admit to some degree of vanity.  See, I was going for a "look."  Those of you seasoned enough to know better are already grinning at my folly.  Anyway, when I ordered the bike, I also ordered a Gilles Berthoud Aspin touring saddle, a beautiful natural leather French-made piece of bicycle art, and matching leather handlebar wrap.  I even bought vintage-looking ElevenGear riding gloves.

Quite the ensemble.

Now, I did take the extra measure of wrapping the bars with an under-layer of Specialized Bar Phat.  I mean, it's gonna be rough out there.  Gotta treat your hands right, right?

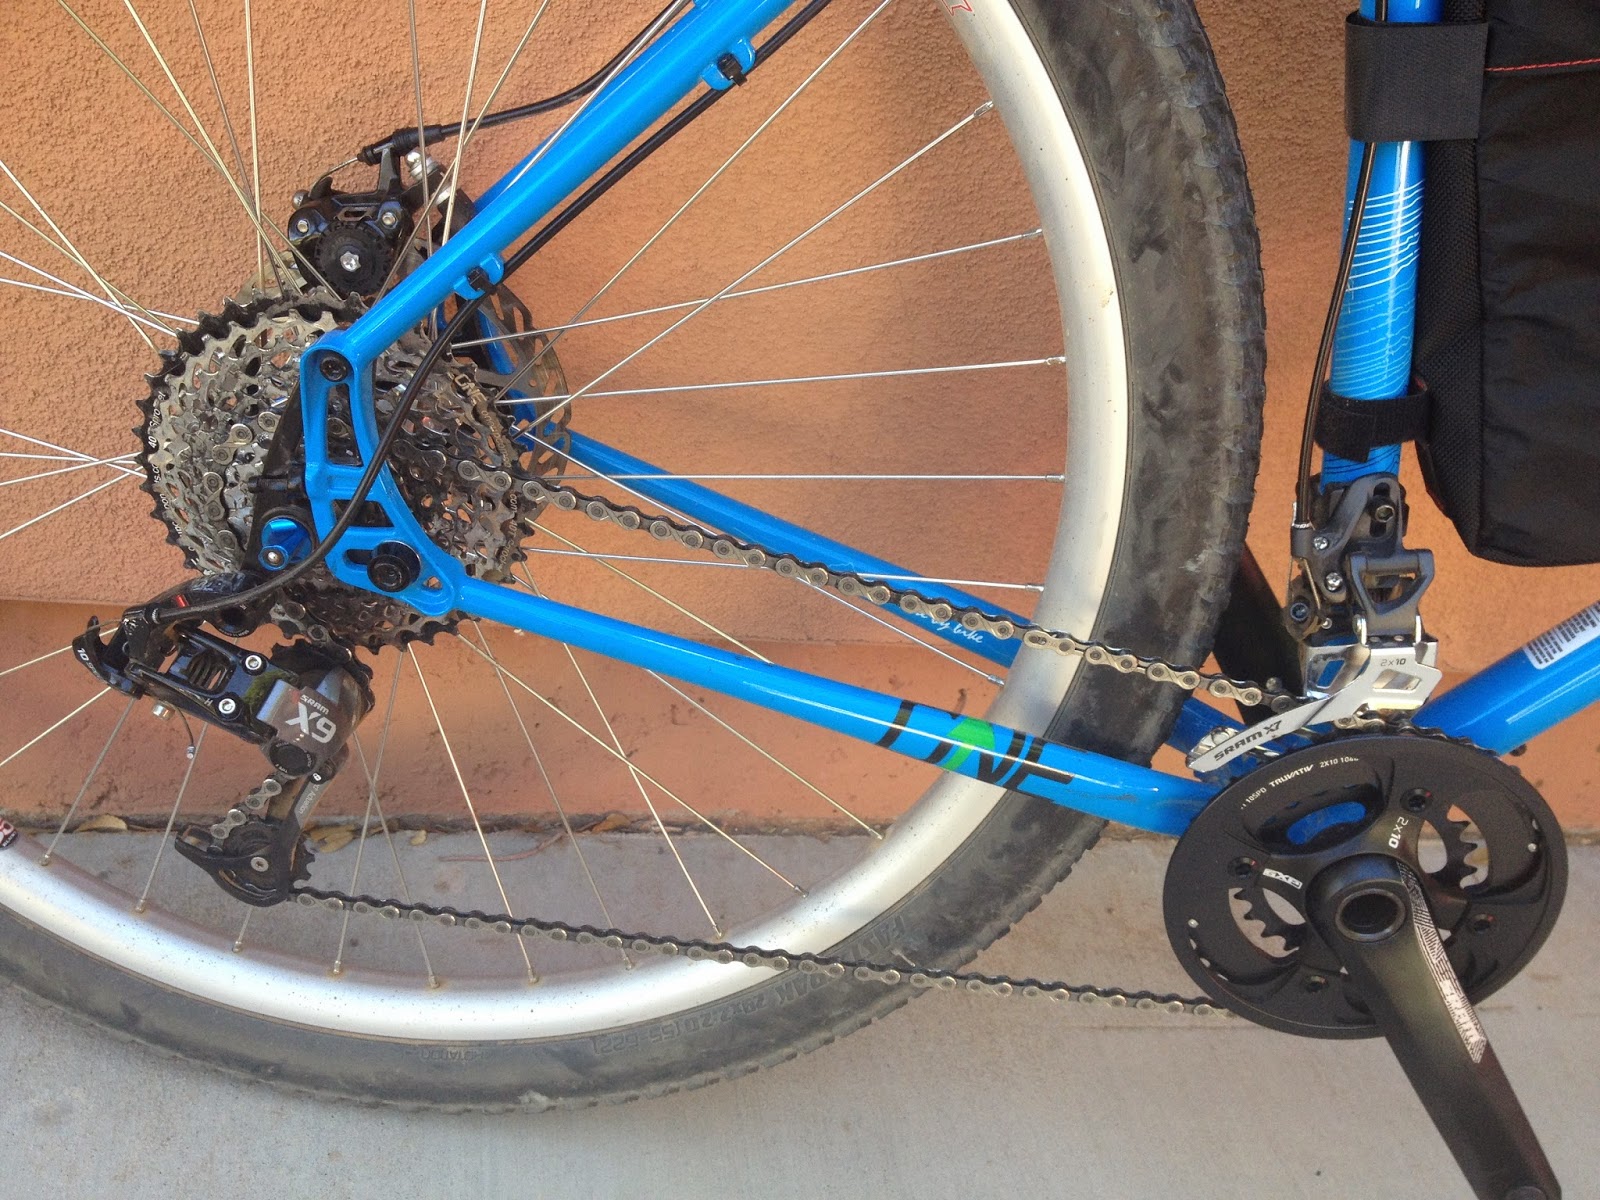
Then I took it all out and rode the Chino Grinder, and I learned a few things about contact points.  I'll save the saddle discussion for another time, but here's what I learned about that pretty, smooth leather bar wrap: it's slippery.  Especially with matching leather gloves.  Especially on gravel roads.  With washboard.  I only rode the short course, but after 42 miles, my forearms were sore from simply trying to hold on to the handlebars.  No way this stuff was going to go any serious distance.

So, off it came.  I kept the padding, but switched out the leather for Lizard Skin bar tape.  Very tacky, very grippy, and in combination with the Bar Phat, very cush.  So far, it's been great.

I haven't finalized on gloves yet.  I like the carpenter's gloves I've been using on my trail bike - simple, cheap and durable protection, although they have no padding to speak of.  I do still dig the ElevenGear gloves for warm, dry riding.  They offer less finger protection, but offer some modest padding in the palm.  And did I mention that they look cool?  Not sure if either are going to do the job just yet.  Decisions, decisions.

I haven't bought thermal or wet-weather gloves yet.  After the horror stories I've heard from those who rode in the 2014 TD (Grand Depart), I'm uncertain which way to go.

For rain, I was keen on the Mountain Hardwear gloves that Marshal Bird was going to take out, but after reading about his experience, I'm thinking twice.  I've heard similar stories about other brands of "waterproof breathable" gloves too.  So at this point, I'm looking elsewhere to find something appropriate.  So far the most promising thing I've found is from the world of motorcycle touring.  My favorite so far is the Aerostich short gauntlet rain covers, but even Aerostich offers a bullet-proof (and cheap) alternative: industrial dish gloves.  At $4 a pair, I'll probably throw a pair of these in my kit for good measure.

As for thermal gloves, I was looking at the DeFeet Wool Duraglove.  Simple, inexpensive, Merino wool.  Pretty tough to beat.  Then when it came time to pony up, my size was not available.  Come to find out the Wool Duraglove is being discontinued, as DeFeet is introducing a Wool ET (electronic touch) Duraglove to replace it.  It's only a couple dollars more than the original, and is designed to be used with touch-screen devices.  Handy when futzing with the GPS or making a phone call with the smart phone.

Looks like these just came online, so if you'll excuse me, I gots me some shopping to do.

-David


Friday, September 26, 2014

Tour Divide 2015 - Bike Mods

So, Salsa Fargo 2.  Steel frame, drop bars.  A great bike.  How do I make it better?  More specifically, how am I going to tailor this bike for my use as an overland back country survival vehicle?  The Tour Divide takes place mainly on backroads and trails, with a little bit of single-track and a whole lot of climbing.  So what about this bike needs to change?

First modification: wheels.  There's a growing body of evidence that suggests that for mountain biking, wider rims make more sense than the beefed up narrow rims found on most mountain bikes today.  Less burping, better float, less deformation, reduced rolling resistance, yada yada yada.  All very controversial and subject to personal preference, but it makes sense to me.  So I had Peter White build up a new set of wheels using Velocity Blunt 35's drilled to fit a Schrader valve.  Why Schrader?  How many back country gas stations have a compressor with a Presta tire filler?  That's right - zero.  Rear hub is a Hadley 135mm QR, and up front I'm running a Schmidt SON 28 15, a dynamo hub that outputs 6W at 9mph - enough to run a headlight and keep my phone charged.  Wheels are set up for tubeless, and I'm running Specialized Fast Trak Control 29x2.2" tires.  They're light, they're fast and they're quiet, even on pavement.  I love my wheels.

What about the stock wheels?  I set them up with Schwalbe Marathon HS 420s.  I've taken them out a few times, but they're less comfortable and no faster than the Fast Traks, so I leave them at home and use them on the trainer.

By the way, cost of a complete bike plus custom wheels was about the same as the cost of a naked frame & fork set built up from scratch.  This way, though, I have a second set of wheels to train with.  Food for thought. 

Modified wheels & drivetrain. This mule is built to climb.
Second modification: cranks.  The bike comes stock with SRAM S1000 2x crankset with 28/42 chainrings.  I want lower gearing than this, so I swapped out the stock part with a SRAM S1400 crankset (the OEM version of a SRAM X7) with 24/38 chainrings.  Thank you eBay.

Third modification: cassette.  The stock cassette is a SRAM PG1050, which I left on the stock rear.  For the custom wheel, I added a SRAM PG1070 11-36 cassette, and to that I added a OneUp 40T granny gear.  The handy thing about the OneUp kit is that comes with a 16T cog as well.  Instead of making room for the 40T cog by simply yanking one of the higher cogs - say 17T - and being left with a jump of 15T to 19T in the upper gears, you can pull out the 15T and 17T cogs, and replace them with the new 16T cog.  It does wonders to smooth out the shifting, and overall the system works as well as the stock cassette.

Now, the Tour Divide is largely about climbing, so let's talk ratios for a minute.  My Santa Cruz Tallboy has a 3x crankset with a 24T chainring up front, and a 36T cog on the back, resulting in a granny gear ratio of 24/36 = 0.667.  Decent, but I still end up walking more than I'd like on Crown King Road.  Definitely not low enough for loaded backroad touring, IMHO.  On the high end, Tallboy and Fargo both have a 42T chainring mated to a 11T cog resulting in a final drive ratio of 42/11 = 3.82.  Nice.  Now, the stock 2x Fargo crankset has a low ratio of 28/36 = 0.778 - much higher than the Tallboy, and way too high for the kind of climbing involved in the TD (again, IMHO).  Now, if I were simply to drop the front chainrings down to 22/36, that would result in a granny gear ratio of 22/36 = 0.611.  That's a significant improvement on the low end, but the penalty comes on the high end, where the final drive ratio is reduced to 36/11 = 3.27.  Not terrible, but not ideal either.  With the crank/cassette mods I listed above, my granny gear ratio is 24/40 = 0.6 (!), and the final drive ratio is 38/11 = 3.45.  Happy medium.

Why so low, you ask?  With a low ratio of 0.6, I'll probably spin out at about 5 mph, and have a comfortable cadence somewhere between 3 and 4 mph.  One could argue that I could get off the bike and push it nearly as fast as I could ride it in low gear.  Maybe, but at least with this gearing, I'm still on the bike, and I'd rather ride the bike than push it whenever I can.  Personal preference.

There are other modifications having to do with contact points, but I'll save that for another day.

It's coming together.

-David


Friday, September 19, 2014

Tour Divide 2015 - The Bike

When I was a kid, my parents allowed me a ridiculous amount of personal freedom, and I rode my bike everywhere.  On road, off road, in traffic, through fields, across town - wherever the adventure du jour was taking me.  When I got to high school, my grandmother bought me my first real road bike, a Peugeot PS20.  Chromoly frame, Shimano 600 group, all white.  A thing of beauty.  Of course, I did nothing to change the way I rode my bike, or where I rode it, and within a few months, the shape of the rims reflected my beliefs about what a bike should be. 

Ever look back on a past relationship, feel a tinge of regret, and wish you'd been a little more kind and a little less harsh?  That's how I feel about my Peugeot.  Live and learn. 

Fast forward a few years, and now I'm deciding which bike to use for the Tour Divide.  Which bike do I think is going to help me go the distance?  My overall philosophy is that generally, the fewer moving parts, the better.  Less things to go wrong.  I'm not keen on the idea of being in the middle of nowhere when a suspension seal blows out.  Plus, suspension adds a bunch of weight which I'd rather not have to pedal up all those mountains.  So, hardtail with rigid fork it is.

In a perfect world, I wouldn't have to contend with derailleurs either.  I've lost count of how many hangers I've snapped.  However, Pinion gearboxes aren't widely available here in the US, I've heard mixed reviews about Rohloff hubs on the TD, and friends, single-speeds are not for sissies.  I'm not saying I'm a sissy here, but after about a month of researching what ratio every previous TD single-speeder has used in the past, and contemplating what that would mean for ME out THERE...  Ya know what, fine, call me a sissy.  I need my gears.

So I started checking out my options.  My initial intention was to buy a naked frame & fork, and build from the ground up.  What better way to get to know your bike, right?  I put together half a dozen "virtual" bikes in the form of spreadsheets, searching for the ideal combination of frame and components.  Know what I discovered?  Building a bike from scratch is expensive.  Budget considerations eventually prevailed, and I couldn't resist the value offered in a complete bike.  But I still didn't know which one to get.

I've done enough riding on a flat bar mountain bike to know that going long distance on such a bike is very hard on my hands.  At the other extreme, there's a whole spate of drop bar cross and gravel bikes out there, but I didn't relish the idea of being hunkered down over road bars for days and days.

Salsa Fargo 2, fresh out of the box.
Thank goodness for the Salsa Fargo.  Salsa's motto is "Adventure by Bike," and in my view, no bike exemplifies this better than the Fargo. 

The Fargo is one of the go-to bikes on the Tour Divide, as it combines the best aspects of MTB and road/cross bikes into one clean, sexy package.  A more upright position than a road bike, paired with a unique shallow-drop handlebar with flared ends make this the perfect back road touring mule.  

I bought the Fargo 2, which means it has a steel frame in lieu if titanium, and some of the components are a step down from the top shelf.  Would I have preferred the Fargo TI?  Of course!  My dream bike would be a TI-frame Fargo-style 29+ bike with a Pinion 1.18 gearbox and belt drive.  How sweet would that be?  But when one has champagne tastes and a beer budget, one learns to make concessions.

Is the Fargo 2 perfect?  Few things in life are, and the Fargo is no exception.  There are two improvements at the top of my list.  First, make it belt compatible.  The bike has these nifty "Alternator" dropouts on it, but if you're running single speed or an internally geared hub, you're still stuck with a bike chain.  Lamesauce.  Second, make it 29+ compatible.  While I was waiting for my bike to arrive at my local Salsa dealer, I emailed someone at QBP to ask if it was possible to run 29+, if not front & rear, at the very least up front.  I was told that such an arrangement would "ruin" the bike's geometry.  Now that I have the bike, it's clear the Firestarter carbon fork has ample room for a 29+ tire, but there is no way to shoehorn a three inch Knard between the rear stays.  I haven't tested a 29+ tire up front, so I can't say whether or not anything would be "ruined."  But it is tempting to give it a try.

So, perfect?  No.  Awesome?  Yes!  And getting more awesomer with some choice modifications.  I'll get into those modifications in future blog posts, but suffice it to say that I wish this bike had been available when I was in high school.  Maybe then I wouldn't still feel that tinge of regret.

-David


Friday, September 12, 2014

Tour Divide 2015 - On The Weigh Down

There's a whole slew of things to consider when preparing for a multi-day bikepacking event like the Tour Divide.  First there's the stuff - the bike, the bags, the apparel, the sleeping system.  Then there's the course - maps & GPS, grades & profiles, water & resupply.  Then there's physical and mental training - making sure the body and mind are up to the task of pedaling the bike day after day after day.  It's a lot to get your hands around.

But there's one thing that often gets overlooked: weight.

I'm not talking about the weight of the bike or the weight of the gear.  Most of us obsess about that stuff.  How many of us have weighed our kit and wondered if anyone out there makes a lighter rain jacket?  Or a lighter sleeping bag?  We dream about how much weight we could save if we upgrade to a titanium frame.  Or a lighter seat post, handlebar, or derailleur.  Even now, I'm contemplating buying titanium pedal spindles so I can shave 70 grams off my rig.

70 grams.  For the love.

But what about the elephant in the room?  In all of that weight-weeny furor, it's easy to overlook the heaviest - but most important - piece of gear.  I'm talking about the weight of the rider.

Hold on, you say - does rider weight really matter?  Uh, yes it does, and it matters more than you may think.  This year's Tour de France winner Vincenzo Nibali struggled with his weight in the months leading up to the big race, so much so that his doctor speculated he would not win unless he got serious about shedding those last few pounds.  Nibali set a goal, achieved it, and won the Tour.

Now, I concede that the Tour Divide is a whole other kind of race.  But losing weight still makes a difference, whether it comes from the bike or the rider.  Some studies have shown that losing body weight may make a greater difference than shaving grams off the bike.

This is tough.  You've been living with yourself for a long time now.  So long in fact that you've come to believe you're normal.  Sure, it'd be nice to lose a few pounds, maybe even uncover that six-pack you had in high school.  "But who am I kidding" you say.  "My body is what it is."  So you focus your training efforts on building aerobic capacity and endurance, because deep down you don't really think changing your body composition by burning fat is sustainable or even possible.

Lose weight?  Like, a significant amount of weight?  Probably not gonna happen.

Are you listening to yourself?  You're about to attempt the world's toughest bike race!  If you don't think you can set a physical goal and hit it before race day, then brother, stay home.

As I write this, I'm 6'3" and about 185 lbs.  That works out to a BMI of about 23.  According to the National Institute of Health, the "healthy range" for BMI is anywhere from 18 - 25.  So I'm good, right?

Yes and no.  Yes I'm a healthy weight for life in general, but as far as I'm concerned, I'm still too heavy to sustain race pace - or even touring pace - for days on end.

That's why my goal for race day is 170 lbs.  That works out to a BMI of approximately 21.  Well within the healthy range, and not even that big a jump on the BMI scale.  But think about it - how much money would you have to shell out to drop 15 lbs off your rig?  Is that even possible?

I think it's a given that dropping weight has benefits with regard to wind resistance and the power required to pedal at speed.  However, the other significant benefit - maybe the most important one in a multi-day bikepacking event - is wear and tear on the rider.  Knees.  Ankles.  Saddle pressure.  The less body weight you carry, the longer you'll be able to stay on the bike.

Reducing body fat is part of an overall strategy for creating health for my life in general, but it is an essential ingredient when it comes to optimizing my chances for success in the Tour Divide.  Dropping weight in the weeks leading up to race day is a losing proposition, so I'm doing it now.  Achieving target weight this far out will have a positive snowball effect on subsequent training as well, allowing me to build my body and my mind with confidence as I gear up for the big day.

Can I do it?  Time will tell, but I'm confident that I can.  If you've read the "about me" sidebar of this blog, you already know I'm a health coach with Take Shape For Life.  My wife and I have had tremendous success with TSFL in the past, and are dedicating our lives to helping others transform their lives too.  I believe in TSFL because I know it works.

And it can work for you too.

So here's the pitch.  If you're gearing up for a major life event, or if you simply want to create health in your life for its own sake, contact us - we can help.  If you're reading this in September 2014, you can even join us in our Thin It To Win It Meltdown Challenge.  I can't think of a better way to kick off the fall - and head into the holidays - than making health a front burner priority.  Creating optimal health starts with burning off unnecessary fat reserves as you learn new habits of health.

Where you go from there is up to you.

-David


Wednesday, September 10, 2014

Tour Divide 2015 - Letter Of Intent

Two questions invariably come up when someone decides to take on the Tour Divide.
  1. Why (!) are you doing this?
  2. How are you gonna pull it off?
Hopefully I can answer some of the 'how' questions later on in this blog.  Maybe someone out there will find it helpful.  I'm no expert, but I've always enjoyed gleaning information and inspiration from the blogs of others as they've made their preparations.

But why?...  The question lingers.  I'm not even sure I can answer it.

I can still recall when I first learned about the Tour Divide.  It happened in 2008, but I remember it like it was last week.  The place, the noise, the light...

That summer, my wife and I were lodging in the Ronald McDonald House in Palo Alto, where our son had received a kidney transplant a couple months earlier.  It was an emotionally turbulent season for us, to say the least, and I was feeling pretty raw.  I had wandered down to the public dining room for a snack when I saw it: a beat-up copy of Outside Magazine with the audacious claim "The World's Toughest Bike Race Is Not in France" on the cover.  Being a bit of a bike nerd at heart (albeit a lapsed one), I couldn't help myself.  

Right away I was hooked.  Here they were, these young guys like Jay Petervary and Matthew Lee (along with the article's author Jon Billman) and a handful of others, and they're going to follow the Continental Divide from Canada to Mexico.  On mountain bikes.

Say whaaa?

Further, they were going to do it unsupported.  That means no chase vehicles with food or coaches or spare parts.  No fans cheering roadside.  No nutritionists, no mechanics, no massage at the end of each day.  If they wanted something during the course of the race, they had to carry it themselves, or hope they could buy it en route.

Crazy.  And irresistible.

Now at the time, I wasn't in shape to participate in a bike race around the block, let alone one over 2700 miles long.  Years at a sedentary desk job had resulted in a BMI teetering on obesity, and the cardiovascular capacity of a piano bench.  Heck, I didn't even own a mountain bike, and I could barely ride my road bike five miles without having to stop to catch my breath.  Yeah, sad.  When I thought about the Tour Divide, and the kind of shape I'd need to be in to show up at the starting line without getting funny looks - you know, the sympathetic, chuckling "what is this guy thinking?" kinda looks...  Well, the disparity between the shape I was in then and the shape I knew I'd need to be in to survive seemed insurmountable.

I believed - for me at least - that the Tour Divide was impossible.

Beliefs are powerful things.  Henry Ford said "Whether you think you can or think you can't, you are right."  Beliefs guide the decisions we make and the steps we take whether we realize it or not.  Actively or passively, we align our actions with our beliefs, and I had allowed the trajectory of my life to cement the belief in my mind that I would never be able to do something as grand and ambitious as the Tour Divide.

But I couldn't stop thinking about it.  Each year, I'd watch the blue dots on Trackleaders and listen to the racer call-ins at MTBCast, and my soul would yearn for adventure.  2010 saw the release of a movie called Ride The Divide, which provided all kinds of fodder for my adventure fantasy.  (Oh, and speaking of adventure fodder, this video by the Adventure Cycling Association is pretty awesome too.)  But at the end of the day, that's all it was for me - a fantasy.

Then in 2012, the tides of life began to change for our family.  I retired from my day job, which allowed me to start riding and training in earnest; further, our son's health continued to improve, and my wife Stacy and I were able to focus on creating health in our own lives.  We shifted from passive to active mode, and as we did, our beliefs started to change along with our bodies.  Last April, Stacy ran the Paris Marathon.  Yes, in France.  Which is a major accomplishment when you consider where she started on her journey toward health.  

Today we're in the best shape or our lives, and getting better every day.

So I'm training and gearing up.  I'm poring over maps and talking to those who have gone before.  And I'm having a blast doing it.  Next summer when I show up at the Spray River Trailhead, I might even look like I belong there.

Why am I doing this?  Because I finally believe it is possible.

Saturday, June 14, 2014

Bread - Shaping The Loaf

So, now you know my recipe for Bread of Biblical Proportions.  But what about some of the finer points of working that dough.  I'm talking about shaping the loaf.  My loaf shaping skills are a work in progress, but here's a pictorial overview of the basic steps mentioned in the recipe above.

Under wraps.

Unwrapped.

Dump.

Dough.

Stretch out...

...and fold in.  Round 1.

Round 2.

Round 3.

Round 4.

Round 5.

Round 6.

Round 7.

The home stretch...

...and round 8.

Scrunch.

The flip.

Dust & rub.

Onto the slider/peel.

Time to make a mark.

Criss-

Cross.

Score!

The flop.  Yeah, still working on that one.

Lid on.

Bake: the first 20 minutes.

Bake: lid off for the next 60 minutes.

Done!

Rustique.

Tasty.


Bread of Biblical Proportions

If you're gonna eat bread, why not eat healthy bread?  And if you're looking for a healthy recipe, you can't go wrong with the one found in the old testament.


"...take wheat, barley, beans, lentils, millet and spelt, put them in one vessel and make them into bread for yourself..."  Ezekiel 4:9 (NAS)

Many iterations of this recipe have been developed over time, both commercially and by home bakers around the world.  Some folks have shown interest in the way I make my bread.  Here you go.  The only thing I don't have in this recipe is millet, but only because I haven't made the effort to buy some to play with.

Note that this recipe makes a big loaf of bread.  Over 5 lbs when finished.  If you prefer a smaller loaf, you may want to experiment with reduced quantities to make less dough, or divide this dough produced by this recipe into multiple loaves.


Equipment

  • Flour mill, electric or otherwise.  We use an old-school Whisper Mill.  I'm sure there are others that will do the job.  If you don't have access to a flour mill, you may be able to find most or all of the ingredients pre-ground from boutique millers like Bob's Red Mill.
  • Kitchen mixer, electric.  Of course, you can always knead your dough by hand.  My mother made bread this way throughout my childhood, and it always looked like a terrific workout (read, a lot of work).  In our kitchen today, we use a Bosch Universal - also old-school - but I'm sure your Kitchenaid will work just fine.
  • Measuring cups & spoons.  I use a big 4-cup Pyrex cup to mix the water/honey solution, but you can probably do it in a mixing bowl.
  • An electronic food scale.  Why do I use an electronic food scale to measure ingredients instead of cup measures?  Because Alton Brown said so.
  • A big, non-porous bowl for the rise.  My mom used plastic.  I use stainless steel.  Either works.
  • A big, cast iron Dutch or French oven (i.e. pot), enameled or otherwise, with matching lid.
  • A big oven peel/slider.

Dry Stuff

  • Measure 3 tbsp iodized salt and set it aside.  Why iodized?  Meh, why not.
  • Measure 3 tbsp active dry yeast and set it aside.
  • Measure 500g of unbleached white bread flour and set it aside.  Now, you may wonder how on earth they can derive white flour without the use of bleach.  I have no clue.  The mysteries of modern milling.
  • Measure out the Ezekiel blend, which consists of 500g hard white wheat berries (others will probably work, but this is what they have at the local Costco); 250g farro; 150g pearled barley; 100g spelt; 50g lentils; 25g pinto beans; and 25g great northern beans.  1100g total.  Grind in the flour mill medium fine and set aside.
  • Keep a couple tablespoons of cornmeal handy, and a bit of extra flour, for the loaf shaping stage.
Regarding salt:  don't forget it.  Why?  Because life is fleeting, and if you forget the salt, you will waste your hours producing a brick of roughage so tasteless you wouldn't offer it to a tiresome houseguest.

Regarding flour:  experiment!  The Ezekiel & flour blend above is the result of my own experimentation in the kitchen, where I've played mainly with the proportions of wheat to non-wheat grains.  You may want to try all processed bread flour, or all ground wheat flour.  Try changing the proportions of the non-wheat grains, or excluding them altogether.  Try adding the millet to the mix, or some other grain you have access to.  Try changing the proportions of dry-to-wet ingredients.  Make it your own!  Have fun!

Just don't forget the salt.

Wet Stuff

  • Measure 100g (1/2 cup) olive oil and set it aside.  Don't be cheap.  Use the good stuff.
  • Measure 960g (4 cups) of warm water, approximately 120 deg F (50 deg C).
  • Measure 120g (1/2 cup) honey; stir it into the warm water and let it dissolve.
It may be possible to omit the honey and oil, and make up the difference with water.  I've never tried it so I don't know what would result.  In theory, one can bake bread with flour, leaven, water, and salt, so it should be possible.  Maybe someday when I'm feeling particularly lucky I'll give it a try.

Mixing Stuff

  • Dump the water/honey solution into the mixing bowl; stir in the yeast and let it sit for a couple minutes.
  • Add the white flour, whisk to incorporate, cover and let sponge for 10 minutes.  If it doesn't look "alive", add 1 tbsp more yeast into a cup of lukewarm water, incorporate into the sponge mix, and let sit for 10 more minutes.
  • Once the sponge has sponged, turn on the mixer (use a dough hook) and add the salt (!), the oil, and the Ezekiel flour.  Mix for 8-10 minutes.  Voila:  bread dough.

Rising Stuff

  • Lightly oil the big bowl, and dump the dough into it.  Turn it over once or twice, making sure the whole surface of the dough is oiled.  This is important, for reasons that will become clear the first time you forget to do it.  Cover the bowl with plastic wrap and put it somewhere cozy.  Let it rise for an hour.
  • Turn the dough gently in the bowl, deflating it and turning it in on itself before flipping it in the bowl.  Let rise a second time for 45 minutes.  Around this time, turn on the oven (with the cook-pot & lid inside) to 500 degrees F.
  • After the second rise, dust the counter with some flour, turn out the dough onto the floured surface, and shape the loaf: pretend the blob of dough is a stop sign, and take each of the 8 'corners' (use your imagination) one at a time, gently stretch them outward, and fold them back into the center of the blob.  Once you've got all eight, squeeze 'em all together.  You've effectively 'tightened' the bottom surface of the dough, which, after you turn it over, will become the top of the loaf, but not until you...
  • Sprinkle some cornmeal onto a flat peel/slider, and place the shaped loaf onto the peel, 'tight' side up.  Rub the top of the loaf with some flour, cover with a towel, and let rise for 15-20 minutes.

Baking Stuff

  • Once the oven and cook-pot are hot and the loaf has risen, slide the loaf off the peel and into the pot (easier said than done), score the top of the loaf, put the lid on the pot, and slide the whole thing back into the oven.  Turn the heat down to 450 degrees F and set timer for 20 minutes.
    CAUTION: the pot & lid are HOT, and will burn you without remorse or empathy if given the chance.
  • When the timer rings, remove the lid and set the timer for 60 minutes.
  • When the timer rings again, turn the loaf (hot!) onto a cooling rack, and give the bottom a knock.  If it doesn't sound done, pop it back into the oven for a bit.  Once it sounds done, hey way to go - you made bread!
Enjoy.

Regarding the whole pot & lid thing: Tartine Bread.  I got this idea from a book thus named, wherein the author describes this process of using a heavy pot & lid in lieu of traditional open loaf pans.  The lid serves to trap moisture in with the loaf for the first few minutes of the bake, which allows the surface of the loaf to remain elastic while the loaf finishes rising and takes its final shape in the loaf pan.  I'm not exactly sure why this is so important, but I love the results (crust!), so I keep doing it.

Stay tuned, and I'll post some pictures of the loaf shaping and baking stages.